IMAGE .ENHANCEMENT. TECHNIQUES. FOR . END-USERS
[ESPECIALLY.. FOR ..PALEOGRAPHERS]
this entire page - copyright © 2006 by Mr. Gary S. Dykes
|
SCANNING 35mm FILMS (using the Plustek 7300)
|
HDR IMAGING, AND PALEOGRAPHY | |

- - - - -Numerous images are on this page, so it will take some time to load.- - - - -
Many Bible critics, scholars, students and educators, who work with manuscript images
of the Bible (or other texts) often possess or view images on a computer. Many of
these same folks do NOT travel extensively abroad to view the actual manuscripts!
Consequently, they (myself included) must extract all of their first-hand data from
digital images, scans, photographs and or facsimile editions. Less preferable is relying
upon someone elses collations or transcriptions!
Few of us possess extremely high quality digital or Multi-Spectral-Images (MSI).
Hopefully the images we do possess
are of good quality. In most cases the researcher must be content to work with what is
available! If the images are of good quality, it is desirable to extract as much useful information
as is possible. Numerous image editing tools exist which can assist. Some high-end image manipulation
tools cost thousands of dollars. Image enhancement can take several forms: (1) interpolations
which is resizing the image with minimal distortion so as to view data BETTER, and
(2) splitting images into various color channels, in the hope of seeing data in a
fuller way. Both shall be demonstrated herein.
I shall use inexpensive image editing tools. Do not let the low price tags fool you,
some of these tools perform quite well, and should be at least tested!
As we begin this demonstration, please keep in mind the importance of FIRST making
backup copies of all images you may work with (should you ever do experiment
upon your images). Some of these tools eat large amounts of RAM, suggested Windows/PC
configurations are:
CPU - - - - - - - - - - - - - - - - - - - - -Pentium III +
RAM - - - - - - - - - - - - - - - - - - - -256 MB +
Hard disk free space- - - - - - - - -300+ MB
VIDEO card - - - - - - - - - - - - - - with 16 MB video ram
Monitor- - - - - - - - - - - - - - - - - -any size which can show 24 bit color (16 million colors)
Plus a good general purpose photo editior, such as:
Photoshop version 4+
Ulead Photoimpact version 6 +
Corel's Photo Paint version 7 +
Picture Publisher version 6 +
Adobe Elements
Paint Shop Pro version 7 +
Image Analyzer (freeware!) [with the "fractal" plugin, offered as a download on this site - HERE]
Irfan View version 3.75 + (freeware!) [useful, but lacks some key features]
I have seen an interpolation process eat over 600 MB of RAM is 20 seconds! If
you have less than 512 MB of RAM then some programs (QImage) plod along very slowly.
All you need to do its be patient in such cases.
3 Images are used for the demonstration tests: each is a
full 24 bit color image, and this is how they appeared
BEFORE we begin to "interpolate" them.
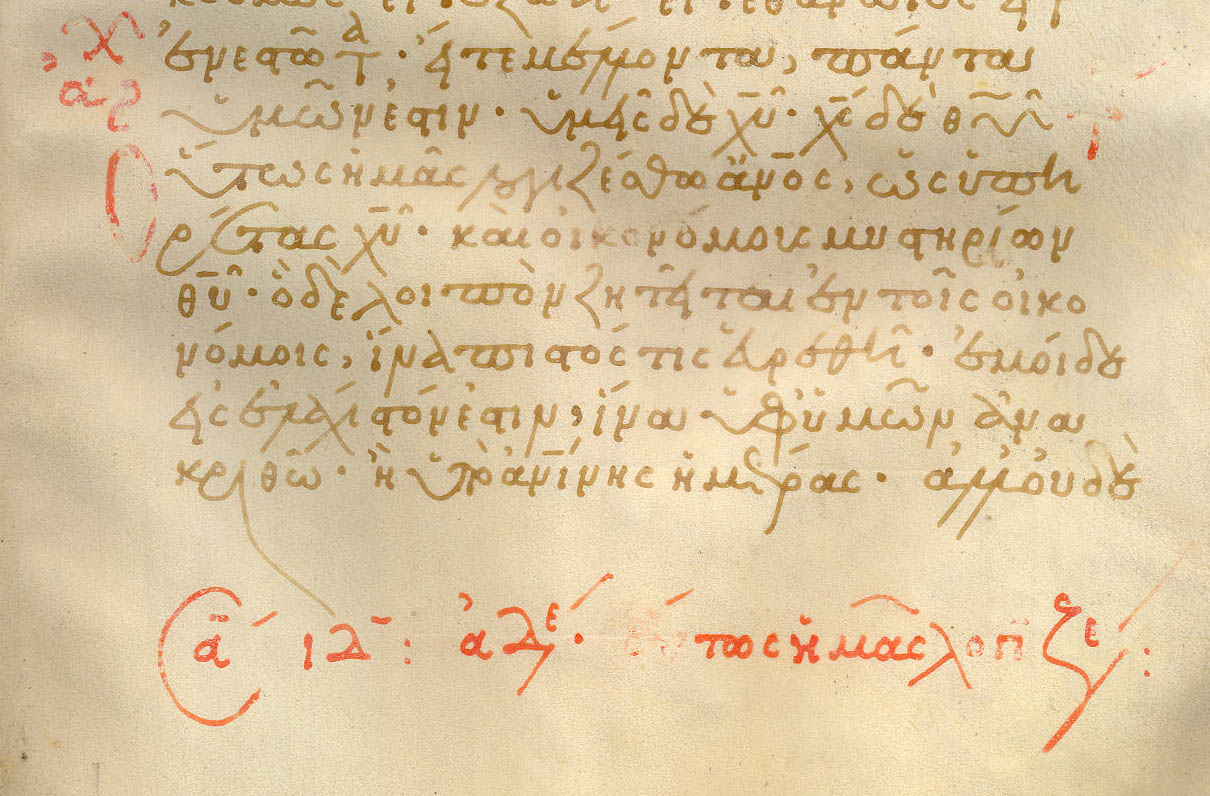
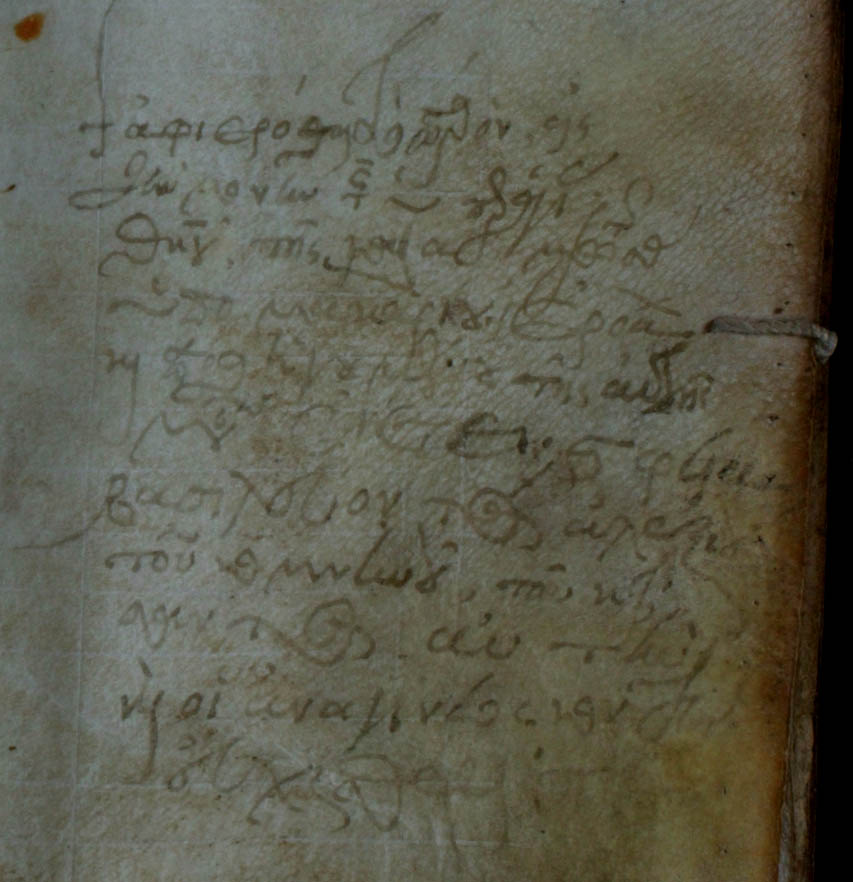
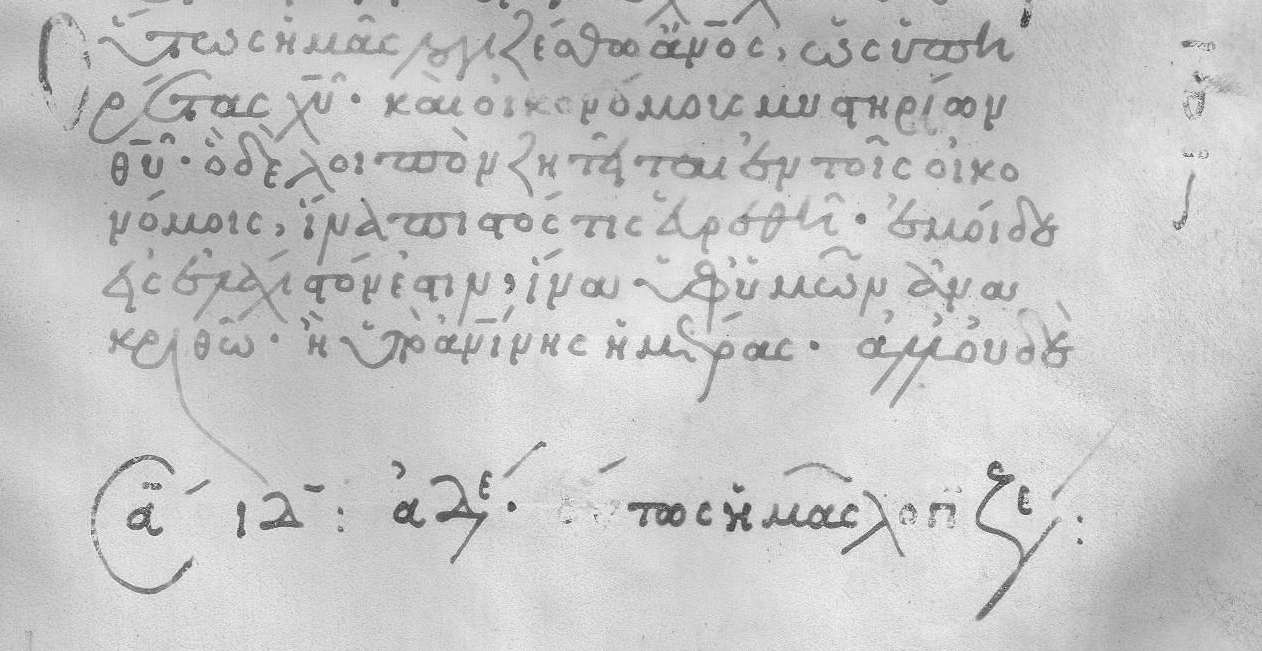
This is the lower portion of minuscule 1960, folio 6r. The whole image was kindly
provided by the folks at Drew University. The above portion is 1210 x 796 pixels, it was
scanned on a flat bed scanner at 300 DPI. The image contains a part of I Corinthians 3.
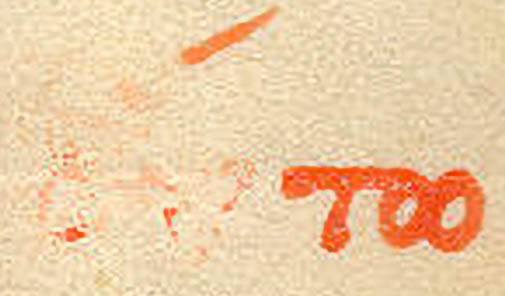
It is a parchment document, with a sabbath reading noted in red, which is a
portion of the area we will zoom into later.
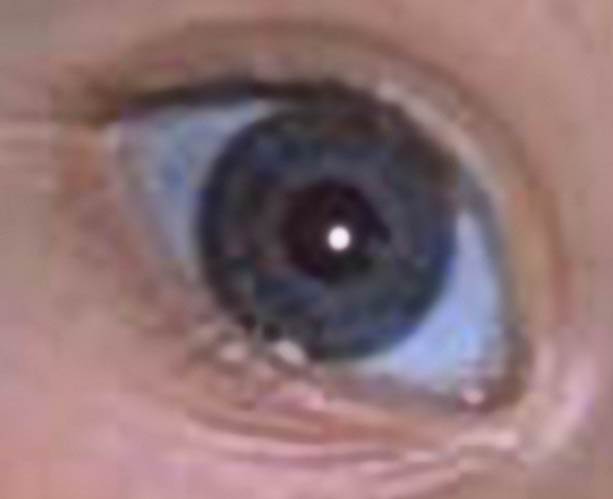
THE NEXT IMAGE IS:

This 24 bit image is at 1445 x 969 pixels. We are going to zoom in on the writing
on the ship's stern.
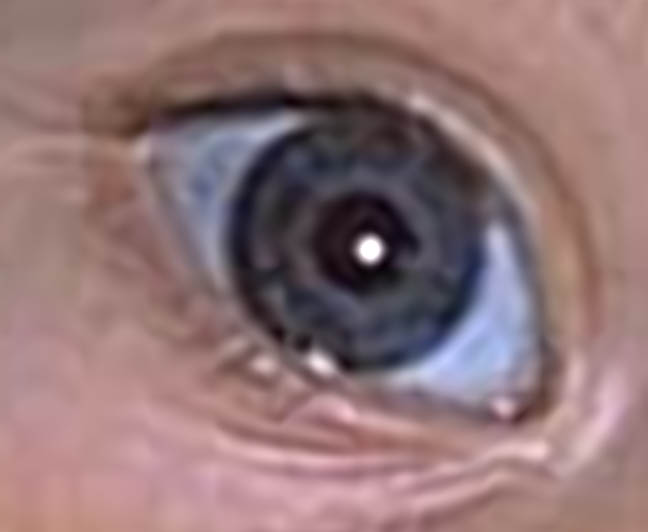
THE FINAL IMAGE IS:
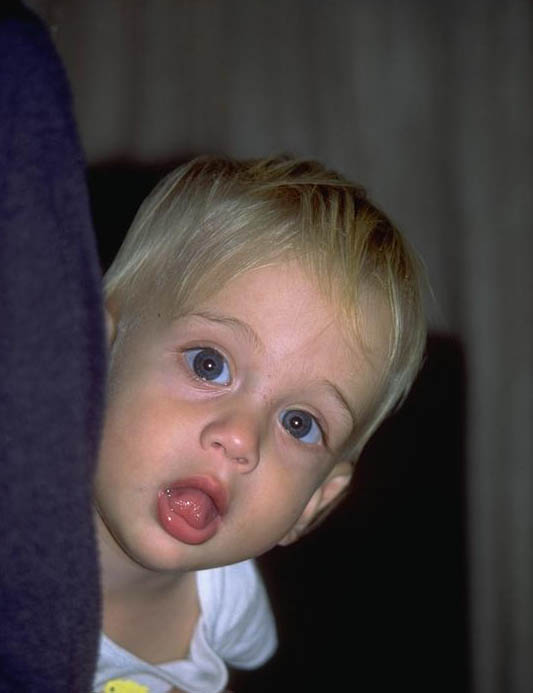
Original 24 bit image was 533 x 693 pixels.
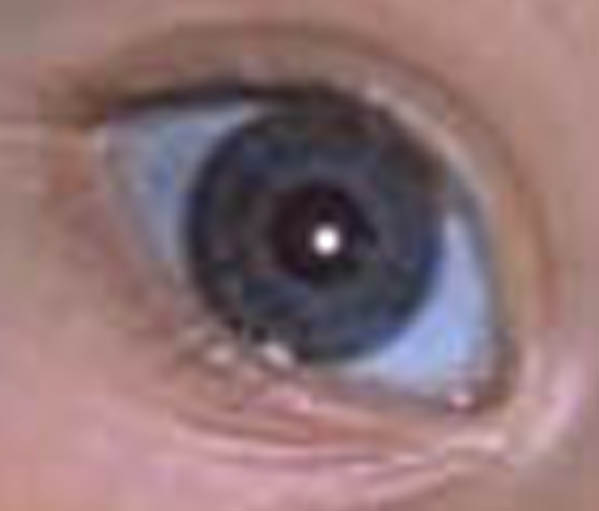
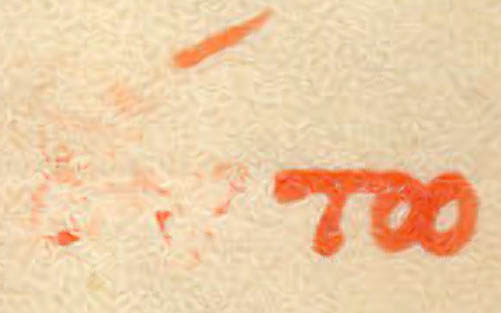
Now we shall observe cropped samples of typical zooms using Photoshop, these are
REGULAR zooms, no interpolation used. This is what most users see when they zoom
in 4 or 5 clicks (note the distortions- pixelations/blocks):
 |
 |
 |
The first reveals some traces of reddish ink, it was zoomed in 350%, to 4210 x 2270 pixels. The pixelation is
not too apparent. The second "zoom" is from the ship, word/words from the boat's stern are almost impossible
to read! It was zoomed in 307%, or to 4445 x 2981 pixels. The eye was zoomed to 850%, to 4533 x 5894 pixels!
I tried to keep all the crops relative in size, however, some minor irregularities
can be seen. Nevertheless, the samples do provide sound information!
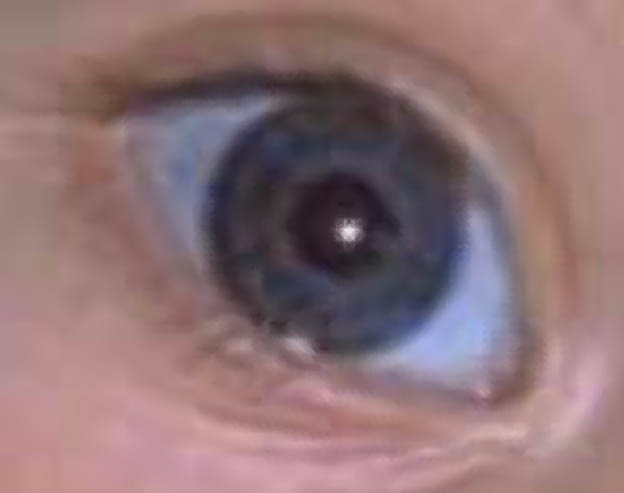
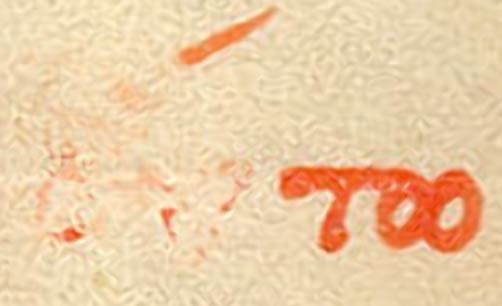
Now we shall compare the interpolations of 4 software programs, using basically their DEFAULT settings:
|
Adobe Photoshop v4 - 5.5 Image Analyzer v1.26.2 Qimage v2006.278 Photo Zoom Pro v1.0.12 |
|
Adobe Photoshop bicubic |
 |
 |
 |
|
Image Analyzer Wiener M=4
|
 |
 |
 |
|
Qimage pyramid -10 |
 |
 |
 |
|
PhotoZoom Pro S-Spline w/anti-aliasing |
 |
 |
 |
|
Again the normal Photoshop ZOOM |
|
|
|
Note, each of the above programs contain other interpolation schemes. Users
should experiment to determine which performs best. Also Some (Qimage,
and Photozoom Pro) have numerous additional settings which can alter and or
improve the final results.
We shall now observe another image, this from an 11 megapixel
digital image shot by the Center for the Study of New Testament Manuscripts,
minuscule 1871, folio 26r. On this folio is a colophon which contains a
Byzantine date. Our goal is to clearly view the date! Here is the JPEG form of the
original image:

It is 24 bit color, and is 2704 x 4064 pixels in size. It has
GOOD resolution to begin with. Here is the cropped portion which we
shall use for interpolating:
This cropped portion is 853 x 882 pixels. We shall test
our same four programs (with the addition of IRFAN view) by zooming in on the date in the
cropped portion above. We shall add extra views as well, as this is
the type of application which is most applicable to paleographers - trying
to read difficult texts, or to improve the view of a text. Note that the text above
is writtten upon parchment, it appears to be the smooth side (not hair side).
The zooms below were are zoomed 451%, or 3853 x 3984 pixels (a large zoom!).
| IRFAN view - Lanczos |
 |
|
Image Analyzer cardinal sinc |
 |
|
Image Analyzer M=6 |
 |
|
Qimage Pyramid 10 |
 |
|
Qimage vector |
 |
|
PhotoZoom Pro s-spline |
 |
|
PhotoZoom Pro Catmull-Rom |
 |
| Normal Photoshop Zoom |
 |
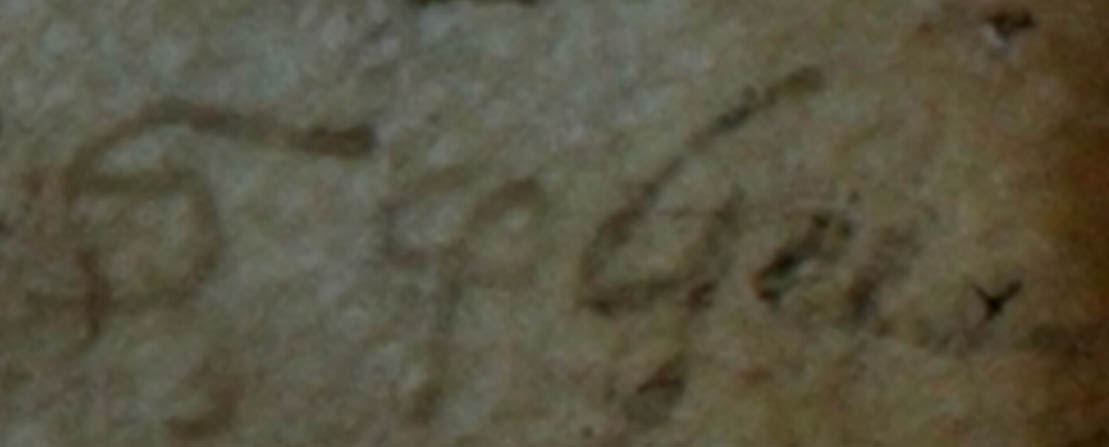
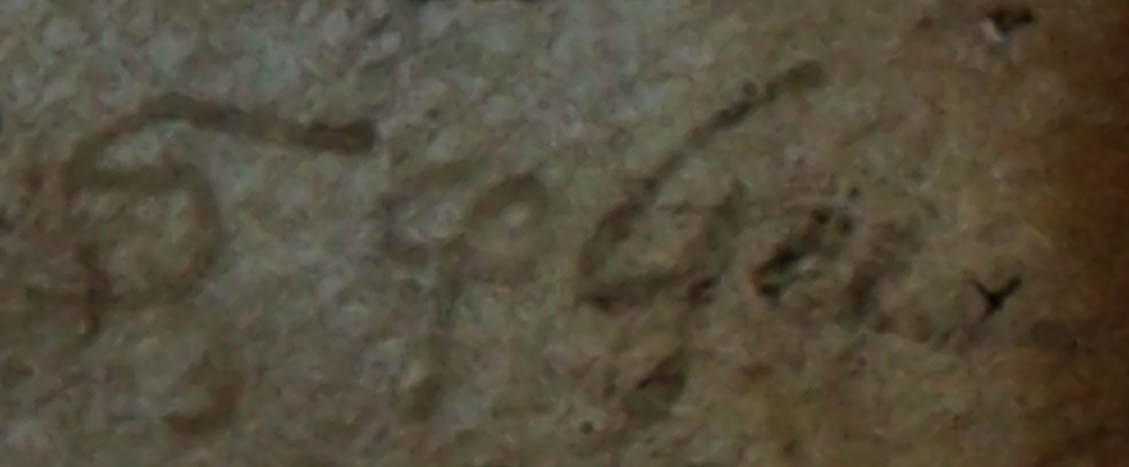
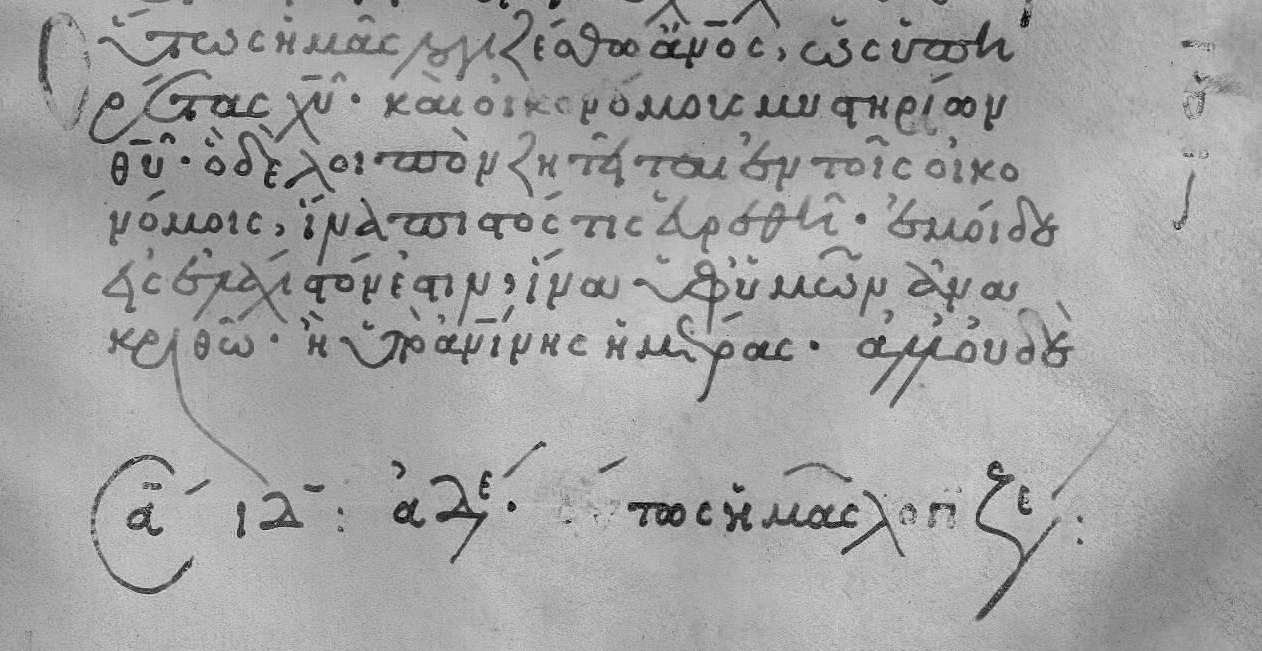
Our last demonstration concerns our former image of
minuscule 1960, seen again below:
We never did discern what the missing letters were before
the TW (tau omega). In fact none of the basic interpolations
gave us any solid clues!
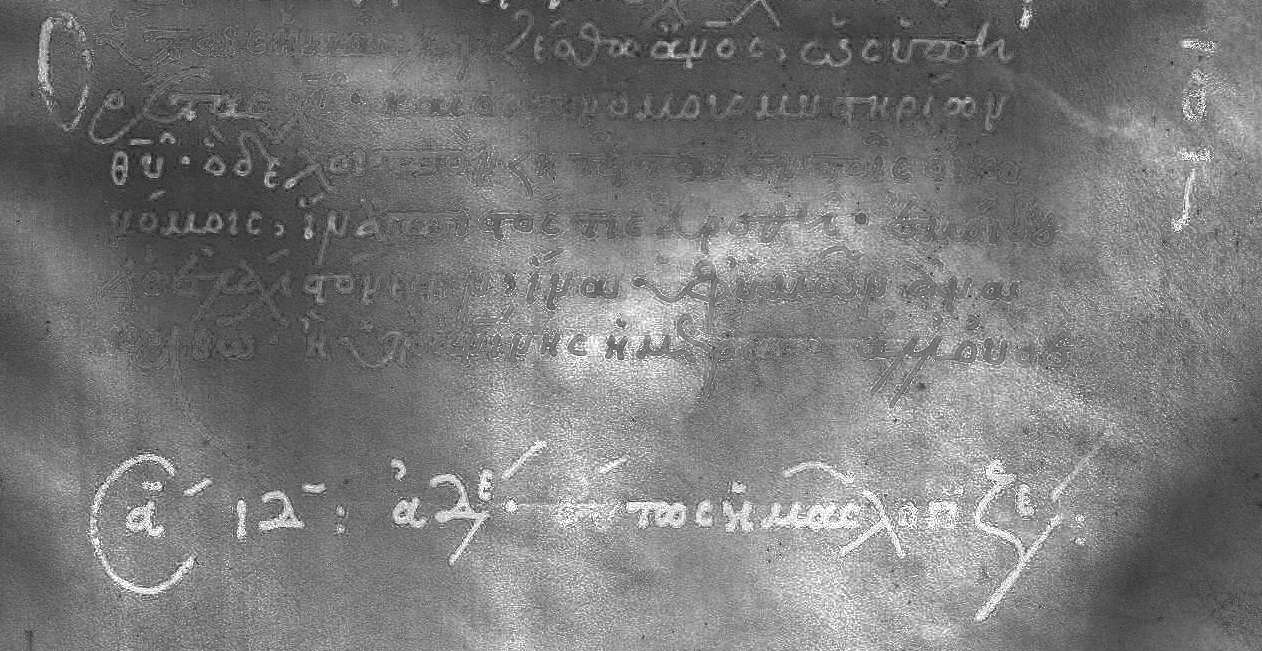
However when we "split" the original full color image into
its various components, we seem to see certain aspects better.
Various image editing programs have the capability to split an image
into its separated components for printing purposes. Usually we
see RGB or CYMK. But others exist. I prefer to use
Corel's PhotoPaint to split images. In Corel the
dialogue box looks like this [PhotoPaint v7]:

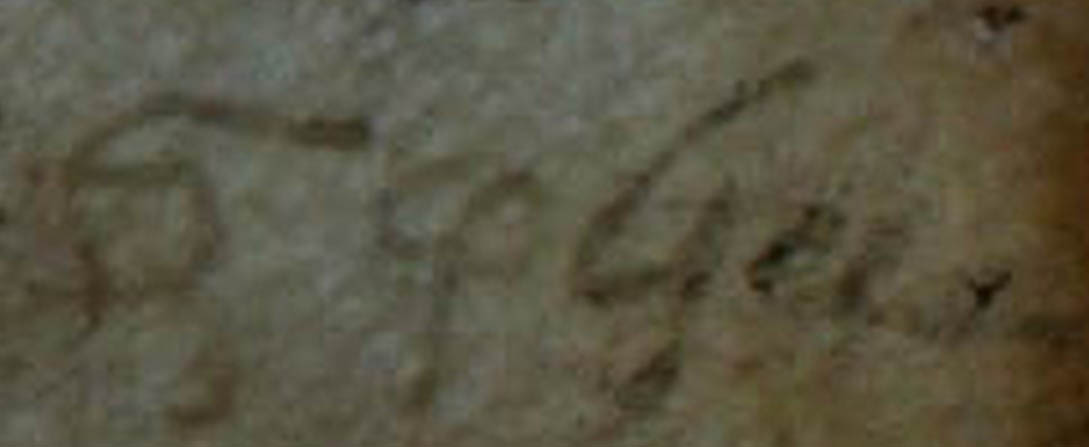
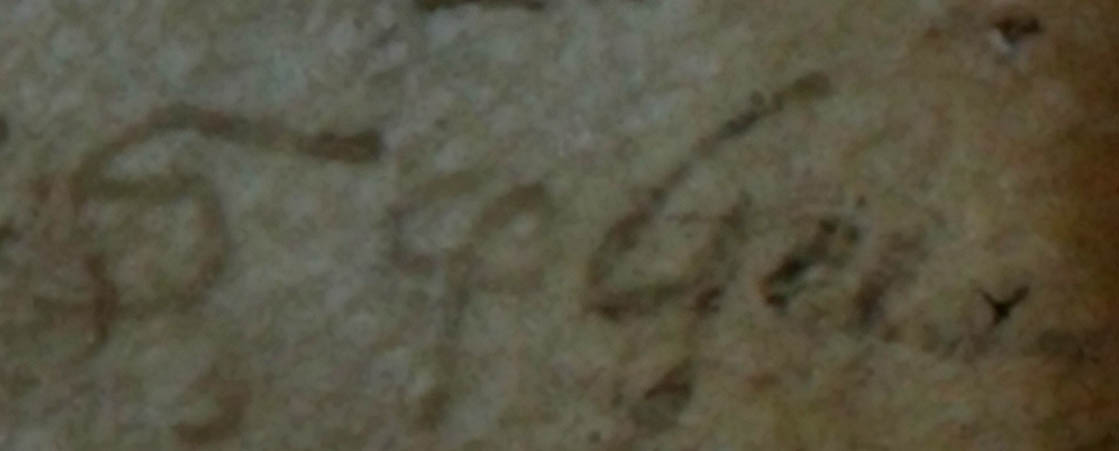
When we select one of the options RGB, for example yields 3 grayscale
images -- one for each color (red, green, blue). Here are a few samples from
PhotoPaint:
This (above)is the Green from the RGB, not much data added, but it
seems that we have 2 letters!
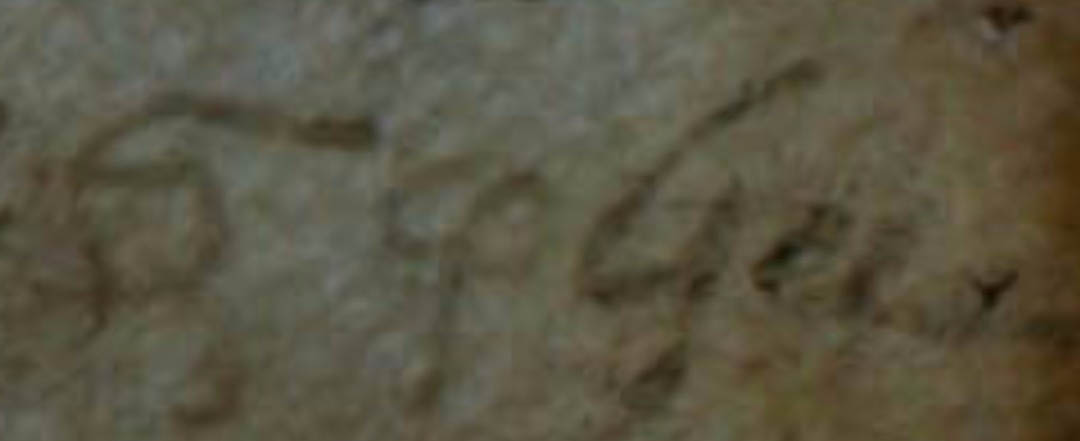
This is the blue split, do I detect an omicron?
This is the "S" from the HSB, after the "omicron" do I see an upsilon?
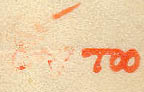
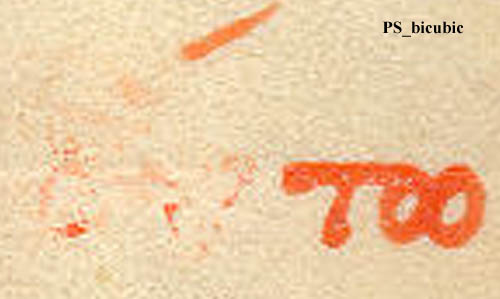
In many of the interpolation images of the original red ink, it seemed that we
would have a "V" type letter, with a sharp belly; but in the above, the belly
may well be rounded as at the bottom of a "U".
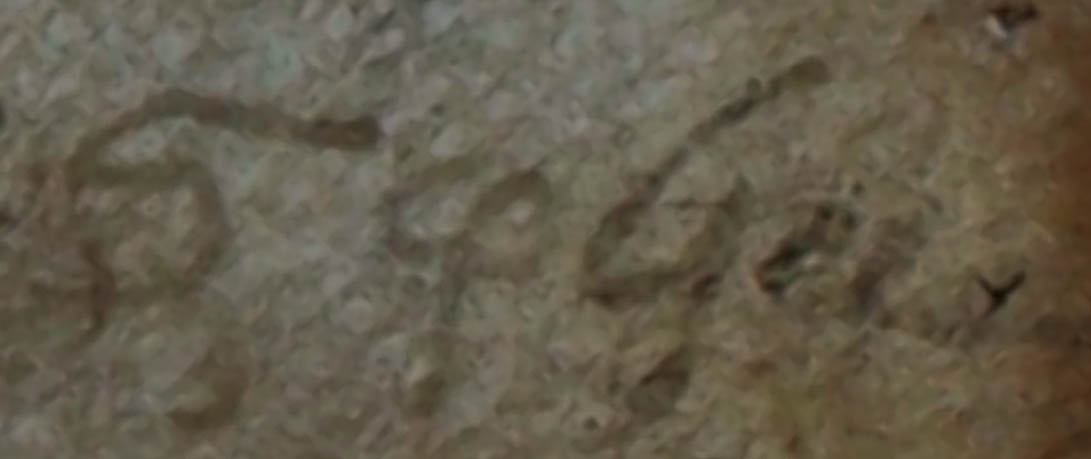
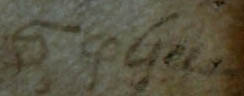
FINALLY;
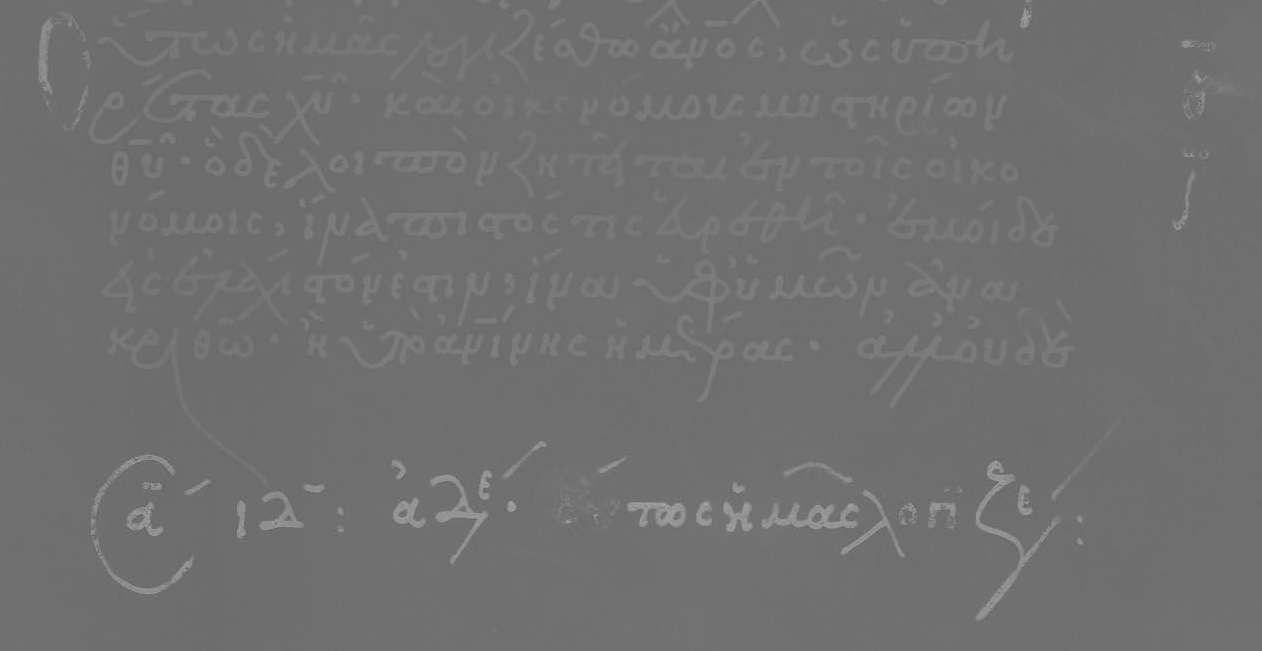
This image above (from the YIQ -- this is the "I" option) confirms, in my
mind, that the nearly missing letters are OU.
In fact we can prove it, as this sabbath label is an incipit containing
the first several words of line ONE in the above image:
outwj hmaj logizesqw
This concludes this brief demonstration. One is encouraged to use some
of the above tools and experiment. I have found some to be of great use, and have
consequently been able to read data which I could not otherwise. There are other tools,
such as "Genuine Fractals" which also produce good interpolation results.
Keep these basic steps in mind, then start to work...
(1) make a back up copy of the original
(2) do not use jpg (jpeg) unless you are posting to
the internet. Convert to jpg at last stage. Use TIFF or
BMP for experiments and working format.
(3) Try various settings and algorithms (interpolation types),
use "Unsharp Mask", and other modifications
to achieve the best results after the interpolation or split.
(4) Irfan View and Image Analyzer are free programs, Image
Analyzer (at this time) does not support SAVING to TIFF, it
will open a TIFF file and interpolate it, though. Image Analyzer is available from this
site as a download (see "softwares"). Some of the newer programs function as plugins
to Photoshop, often requiring Photoshop CS version. All of the
programs I illustrated run on Photoshop 4, or are independent/stand alone
programs running on Windows 98 SE.
 click
to return to "Acquiring Films" page
click
to return to "Acquiring Films" page
![]() click
to jump to the HDR imaging information page.
click
to jump to the HDR imaging information page.
![]() click
to return to the main/home page
click
to return to the main/home page